반응형
SMALL


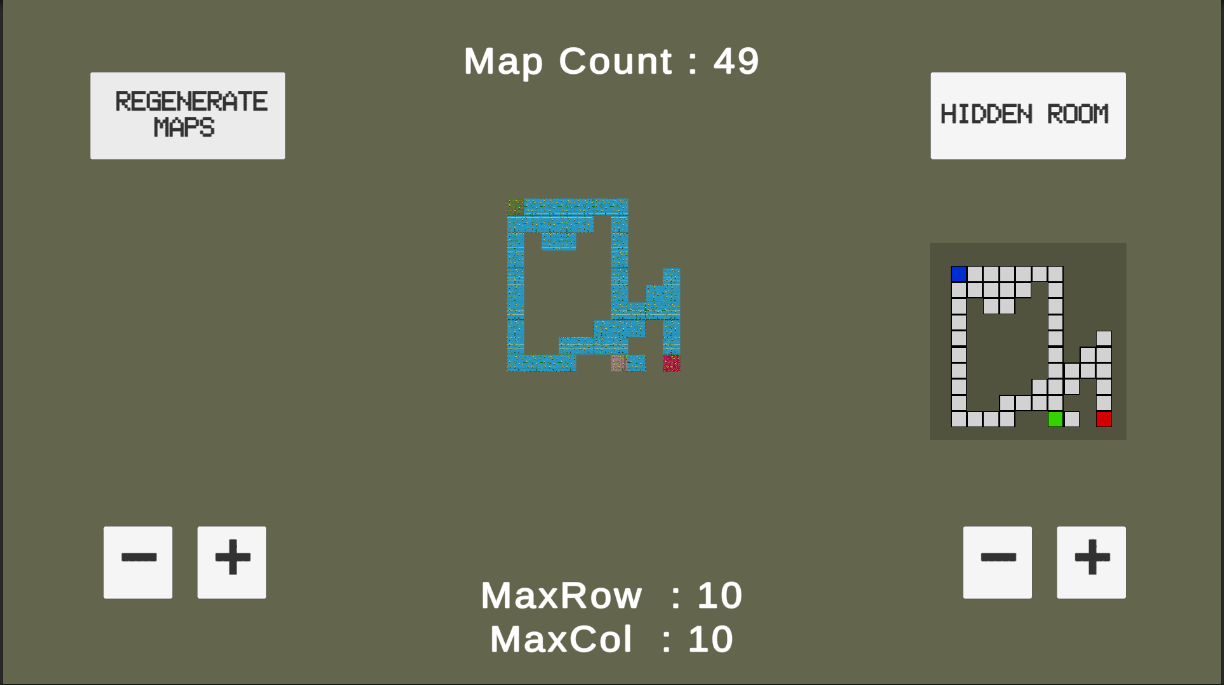
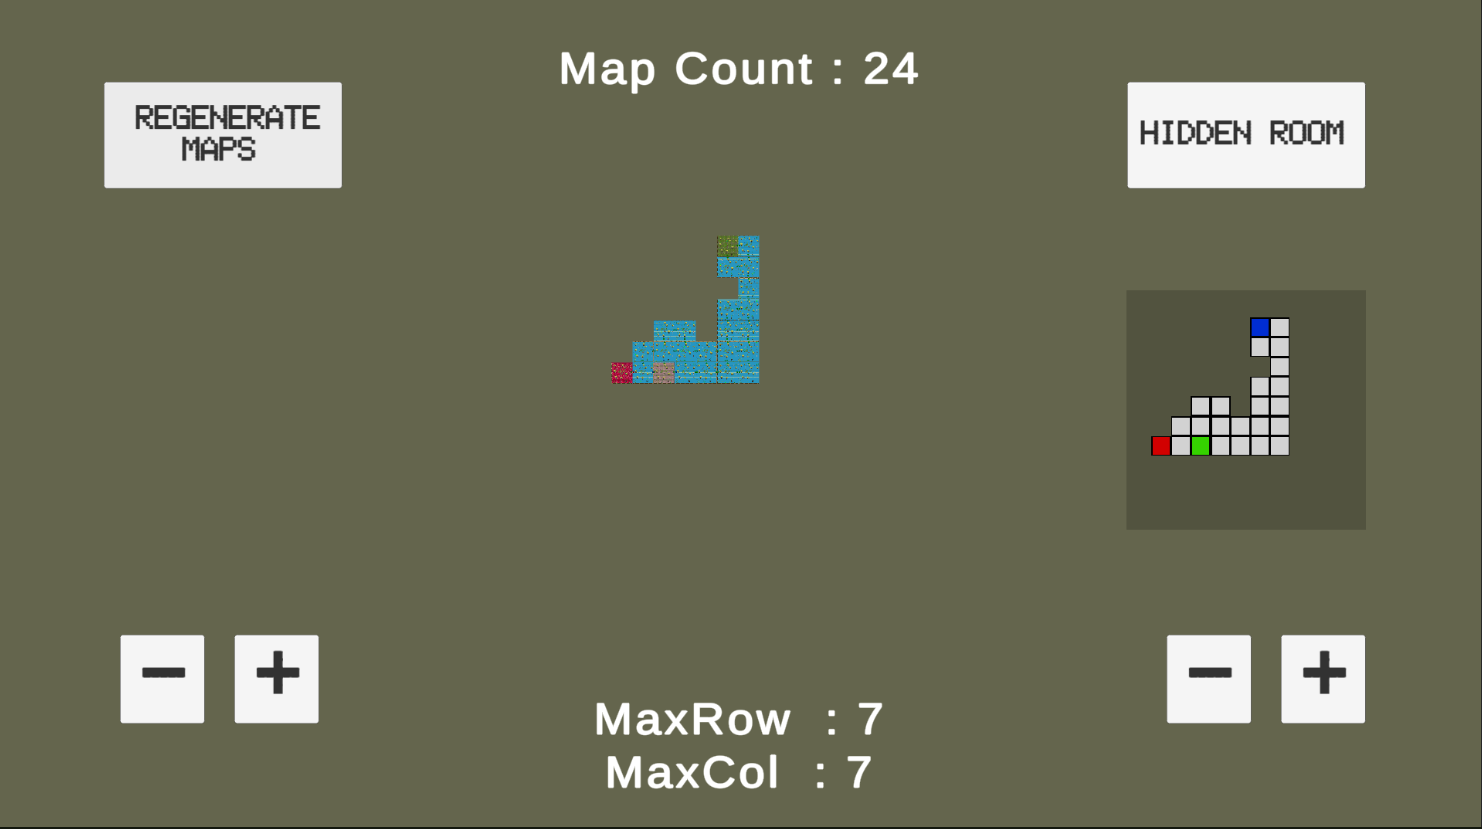
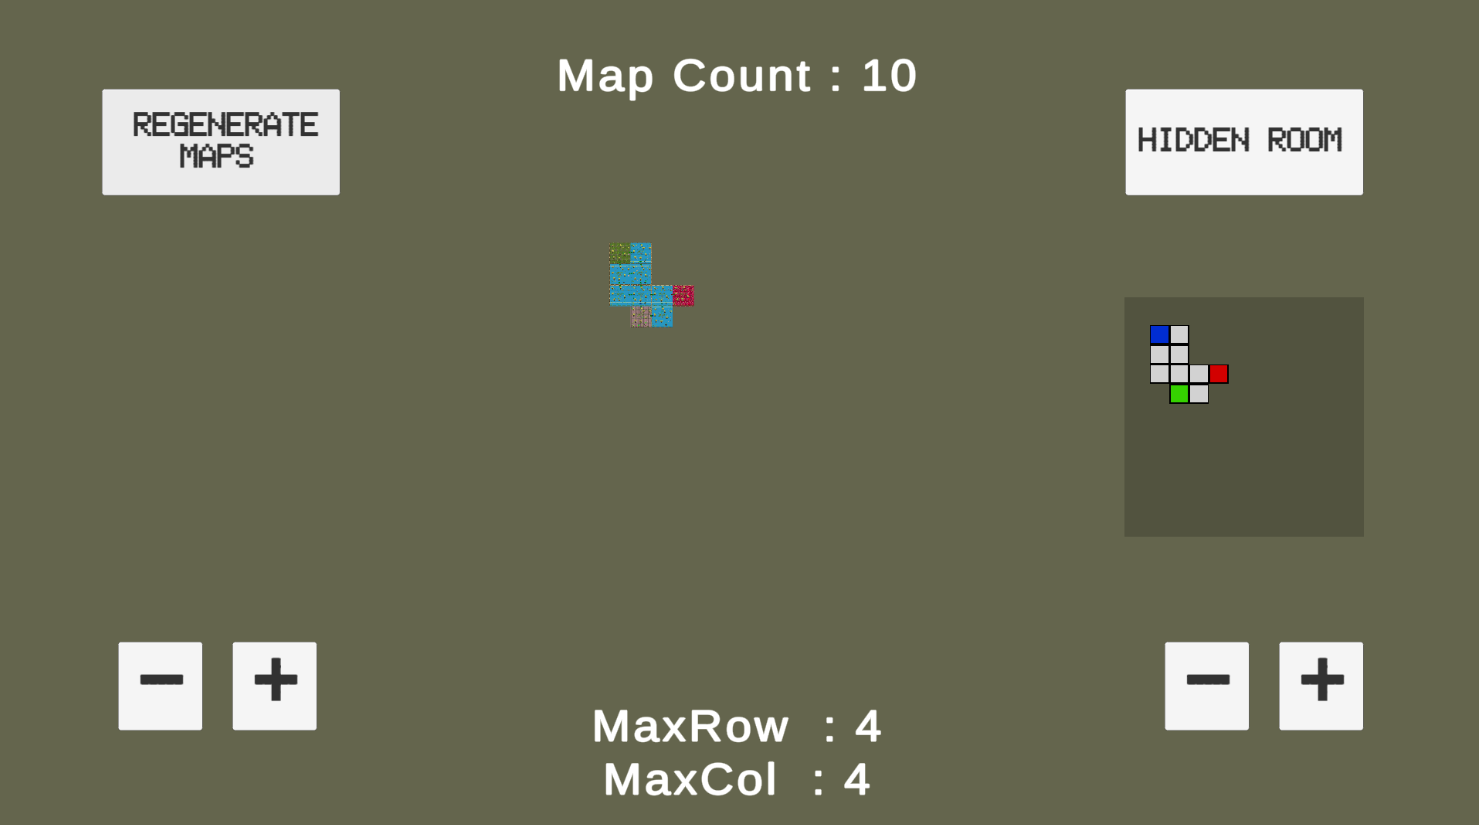
UI카메라 레이어를 이용하여 미니맵 을 제작하였다.
각 맵의 프리팹에 z값의 -20 위치에 이미지 타일을 하나씩 깔아주었다.
이후카메라를 하나 제작하여 Culling Mask 를 UI로 바꿔준뒤 미니맵 카메라의 Z값 을 맵 배열의 사이즈에 따라 변경해주고 미니맵의 Raw Image에 카메라 화면을 띄워주는 식으로 미니맵을 구현하였다.
배열의 0,0 위치가 좌측 상단에 있다보니 맵이 작아질수록 왼쪽 상단으로 치우치는 문제가 있는데 단순히 벡터값을 바꿔주는 걸로 해결이 되지 않는듯하여 고민중이다.
만약 캐릭터가 스폰되면 캐릭터가 있는 룸정보를 받아 캐릭터의 머리 위에 UI 레이어를 사용하는 이미지를 하나 깔아주고 해당 이미지를 하나 만들어준뒤 해당 이미지의 위치를 해당 배열의 위치값으로 잡아주고 껏다 켰다 하는 식으로 하일라잇 하여 캐릭터의 위치를 미니앱에서 표시해줄 생각이다.
일단 미니맵의 구현은 어렵지 않았지만 UX 적인 측면에서 유저에게 어떻게 보일지가 제일 고민이다. 우선 빌드해서 사용해보고 작은 화면에서의 느낌 ( 스마트 폰에서의 느낌) 을 확인해보는것이 좋을 듯하다.
코드
using System.Collections;
using System.Collections.Generic;
using UnityEngine;
using TMPro;
using UnityEngine.UI;
using UnityEngine.Tilemaps;

public class UIMapGenDirector : MonoBehaviour
{
    public MapGenerator MapGenerator;

    public Button btnMapReGen;
    public TMP_Text txtMapCount;

    public Button btnHiddenRoom;
    public Text txtHiddenRoom;


    public Button btnMaxRowPlus;
    public Button btnMaxRowMinus;


    public Button btnMaxColPlus;
    public Button btnMaxColMinus;

    public TMP_Text txtRowCol;

    public Camera mainCamera;
    public Camera miniMapCam;
    private float defaultFOV = 60f; // 기본 FOV 값


    private void Awake()
    {
        this.MapGenerator.sendMapCount = (mapCount) =>
        {
            this.txtMapCount.text = string.Format("Map Count : {0}", mapCount);
        };

        this.MapGenerator.Init();

        this.txtRowCol.text = string.Format("MaxRow  : {0}\nMaxCol  : {1} ", this.MapGenerator.maxRow, this.MapGenerator.maxCol);
        this.AdjustFOV();

        this.btnMapReGen.onClick.AddListener(() =>
        {

            var maps = GameObject.FindGameObjectsWithTag("UsingRoom");
            for (int i = 0; i < maps.Length; i++) { Destroy(maps[i]); }
            this.MapGenerator.mapCount = 0;
            this.MapGenerator.Init();
            this.AdjustFOV();

        });

        this.btnHiddenRoom.onClick.AddListener(() =>
        {
            this.MapGenerator.isHiddenRoom = !this.MapGenerator.isHiddenRoom;

            if (this.MapGenerator.isHiddenRoom) this.txtHiddenRoom.text = "Hidden Room ON";
            else this.txtHiddenRoom.text = "Hidden Room OFF";
        });

        this.btnMaxRowPlus.onClick.AddListener(() =>
        {
            this.MapGenerator.maxRow++;
            this.txtRowCol.text = string.Format("MaxRow  : {0}\nMaxCol  : {1} ", this.MapGenerator.maxRow, this.MapGenerator.maxCol);
        });

        this.btnMaxRowMinus.onClick.AddListener(() =>
        {
            this.MapGenerator.maxRow--;
            this.txtRowCol.text = string.Format("MaxRow  : {0}\nMaxCol  : {1} ", this.MapGenerator.maxRow, this.MapGenerator.maxCol);
        });

        this.btnMaxColPlus.onClick.AddListener(() =>
        {
            this.MapGenerator.maxCol++;
            this.txtRowCol.text = string.Format("MaxRow  : {0}\nMaxCol  : {1} ", this.MapGenerator.maxRow, this.MapGenerator.maxCol);
        });

        this.btnMaxColMinus.onClick.AddListener(() =>
        {
            this.MapGenerator.maxCol--;
            this.txtRowCol.text = string.Format("MaxRow  : {0}\nMaxCol  : {1} ", this.MapGenerator.maxRow, this.MapGenerator.maxCol);
        });

    }

    private void AdjustFOV()
    {
        float mapSize = Mathf.Max(this.MapGenerator.maxCol, this.MapGenerator.maxRow) * 32f; // 타일맵 전체 크기 계산
        float distance = mapSize / (2f * Mathf.Tan(defaultFOV * 0.5f * Mathf.Deg2Rad)); // 카메라와 타일맵 사이의 거리 계산
        float requiredFOV = 2f * Mathf.Atan(mapSize / (2f * distance)) * Mathf.Rad2Deg; // 필요한 FOV 값 계산
        this.mainCamera.fieldOfView = requiredFOV; // FOV 값을 조정하여 메인 카메라에 적용

        float requiredFOV2 = Mathf.Atan(mapSize / (distance)) * Mathf.Rad2Deg; // 필요한 Z값 계산
        this.miniMapCam.transform.position = new Vector3 (this.miniMapCam.transform.position.x, this.miniMapCam.transform.position.y, requiredFOV2-770); // FOV 값을 조정하여 메인 카메라에 적용
    }
}반응형
LIST
'프로젝트 > 건즈앤 레이첼스' 카테고리의 다른 글
| [유니티 프로젝트] 맵 제너레이터 추가 사항 컴포넌트 꺼짐 문제 해결 (1) | 2023.03.21 |
|---|---|
| [유니티 프로젝트] 랜덤 생성맵 포탈 구현 (맵간의 이동) 및 미니맵 포지션 구현 (0) | 2023.03.19 |
| [유니티 프로젝트] A*알고리즘을 이용한 랜덤 맵 생성 .4 (0) | 2023.03.16 |
| [유니티 프로젝트] A*알고리즘을 이용한 랜덤 맵 생성 .3 (0) | 2023.03.16 |
| [유니티 프로젝트] A* 알고리즘을 활용한 랜덤 맵생성 (1) | 2023.03.15 |
